Your always up-to-date GitHub profile

I have recently automated my GitHub profile and in this article, I’m sharing how you can have an up-to-date profile, including your latest blogs, certifications, badges, repositories, and even more.
One often little noticed and hidden feature gem of GitHub is the GitHub profile that each user can unlock. It is a simple GitHub repo with the same name as your username, in my case jetzlstorfer/jetzlstorfer. A README.mdfile in this repo will show up on your public GitHub profile on github.com/yourusername for example on my page: github.com/jetzlstorfer
A simple README.md? Well… let me share how you can automate the contents of this file so it is always up-to-date with all your blogs, contributions, releases, and even badges from Credly.
GitHub Actions FTW!
We are going to use the power of GitHub actions to automate our profile. You’ll also see that with GitHub Actions we can automate quite a lot, not only CI/CD of our source-code.
Credly
Let’s get started by automatically adding all of our Credly badges (e.g. Azure or Kubernetes certificates) to our profile.
We are going to use the great work done at https://github.com/pemtajo/badge-readme to create a list of badges and have them added to our README.md file.
First, add the following lines that will serve as a placeholder for your README.md file:
<!--START_SECTION:badges-->
<!--END_SECTION:badges-->
Next, add the GitHub Action to your .github/workflows folder, e.g as .github/worklfows/update-badges.yml
name: Update badges
on:
workflow_dispatch: # run manually
schedule:
# Runs at 1am UTC on Sunday
- cron: "0 1 * * 0"
jobs:
update-readme:
name: Update Readme with badges
runs-on: ubuntu-latest
steps:
- name: Badges - Readme
uses: pemtajo/badge-readme@2.3.0
with:
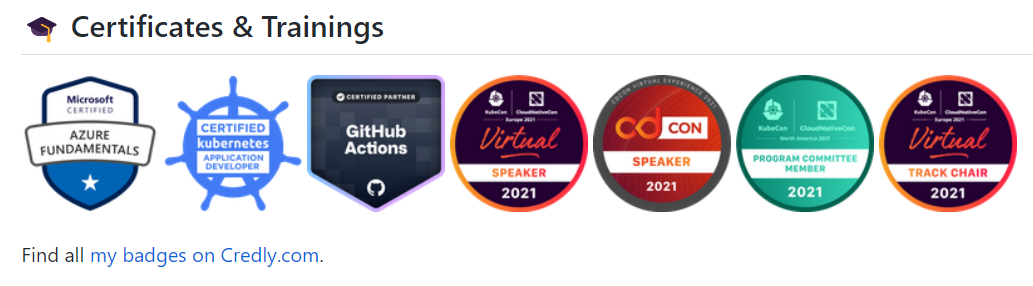
CREDLY_SORT: POPULARIn my case, I’ll have the action run either at a manual trigger (workflow_dispatch) or at a fixed schedule (each Sunday). The action will then check public badges for my user and add them to the placeholder in the README.md file. In my case I’m using most of the default settings, however, check out the different options in their documentation.
This is how it looks rendered on my end:
Next, we are going to automate text and links in our profile.
Template your profile!
There is a great project named markscribe that allows you to template your markdown files and automate content from Github, RSS, and more. In my example, I want to show my latest blog posts from Medium, my latest contributions on GitHub, and some social activity aspects of GitHub such as stars and followers.
We need to start with the README.md, but this time we are generating the file from the template file README.md.tpl in a /templates folder.
I won’t discuss all the details, but for example, we can generate a list of the 5 latest blog posts from my Medium page via:
#### 📖 My latest blog posts
{{- range rss "https://jetzlstorfer.medium.com/feed" 5 }}
- [{{ .Title }}]({{ .URL }}) ({{ humanize .PublishedAt }})
{{- end }}
For more details, please visit the official documentation or have a look at the template file in my repo.
As a next step, we are going to automate the processing of the Markscribe template with the GitHub Action provided by the same author.
Let us now create a new file ./github/workflows/readme-scribe.yml with the following contents:
name: Update README

on:
  push:
  schedule:
    - cron: "0 0 * * */1" # runs at 0:00 UTC each day

jobs:
  markscribe:
    runs-on: ubuntu-latest

    steps:
      - uses: actions/checkout@v3.3.0

      - uses: muesli/readme-scribe@v0.1
        env:
          GITHUB_TOKEN: ${{ secrets.PERSONAL_GITHUB_TOKEN }}
        with:
          template: "templates/README.md.tpl"
          writeTo: "README.md"

      - uses: stefanzweifel/git-auto-commit-action@v4
        env:
          GITHUB_TOKEN: ${{ secrets.GITHUB_TOKEN }}
        with:
          commit_message: Update generated README
          branch: main
          commit_user_name: readme-scribe 🤖
          commit_user_email: actions@github.com
          commit_author: readme-scribe 🤖 <actions@github.com>
This workflow will run on each push to the repo and on a fixed schedule. As you can see, it is going to use the README.md.tpl template to process its contents and create a REAMDE.md file. This file is then committed to the repo by the next action. There is some devil in the details that you need to provide a personal access token to access some of the contents from GitHub via the GitHub API. Depending on your usecase you might need it or you can skip it. Again, have a look at the official docs to learn more.
Voila
Let’s have a look at what we’ve just created! This is a screenshot of my current public profile including my latest blog posts (I haven’t been too active lately…), my latest contributions, my followers, my starred repositories, and even my badges from Credly.
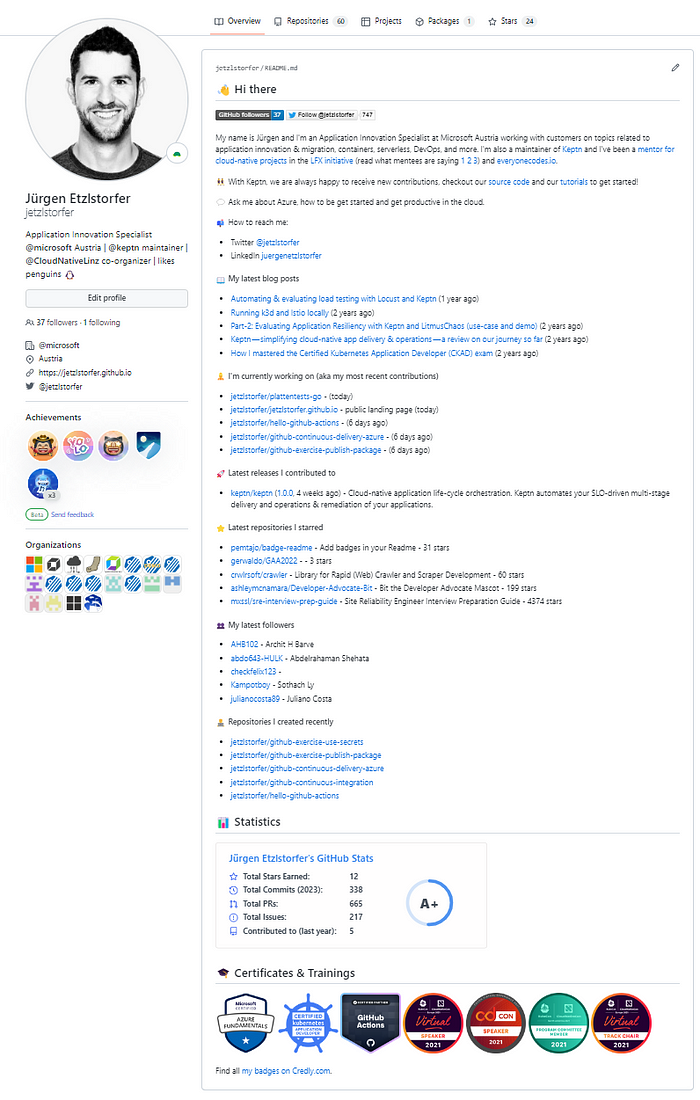
Have a look at my repo to find all details: https://github.com/jetzlstorfer
Kudos to all open-source repos I mentioned in the blog and to the blog post from Engin Dirin who did similar work and inspired this article.